Broker checkpoints saves a snapshot of the configuration to a local file within the Broker. The snapshot can be used to restore the configuration in an event that a configuration change is made which inadvertently effects the operation of the Broker.
Checkpoints do not negate the need to perform an image-level backup of the Broker appliance using your backup software.
This article describes the steps required to perform and manage checkpoints.
Prerequisites
- Administrative access to the Admin Console UI
Initiating a Checkpoint
- Log in to the Admin Console UI
- Navigate to Checkpoints

- Under the Create Checkpoint section, click Create Checkpoint
This may take a few minutes to complete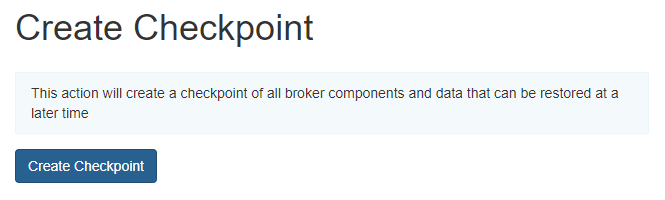
- A status message indicates that the checkpoint has been successfully created

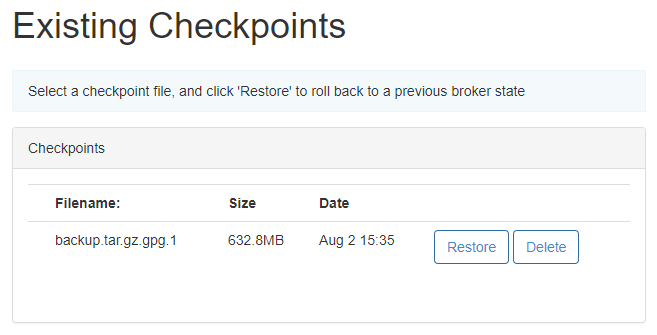
- The new checkpoint file is listed in the Existing Checkpoints section
Restoring From a Checkpoint
- Log in to the Admin Console UI
- Navigate to Checkpoints
- Under the Existing Checkpoints section, identify the checkpoint to restore from
Click Restore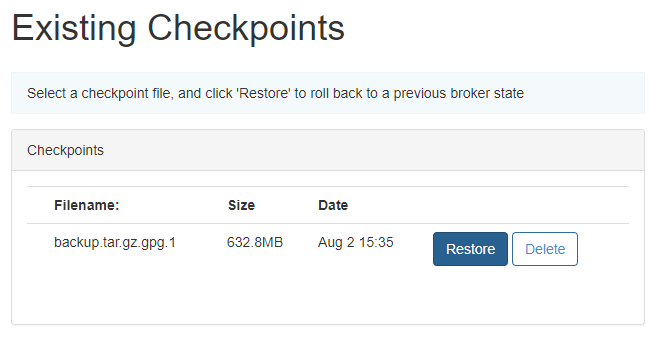
- A status message indicates that the checkpoint has been successfully restored

Deleting a Checkpoint
- Log in to the Admin Console UI
- Navigate to Checkpoints
- Under the Existing Checkpoints section, identify the checkpoint to restore from
Click Delete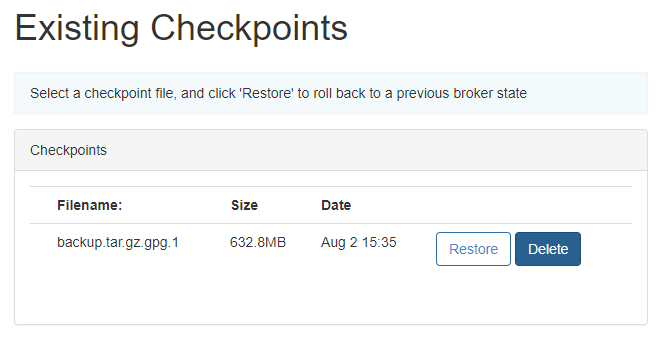
- A status message indicates that the checkpoint has been successfully deleted
