This article describes the steps required to configure service provider Accounts for Azure.
Prerequisites
- Administrative access to the Broker UI
- Accounts have been added
Accessing Accounts
- Log in to the Broker UI as an administrative user
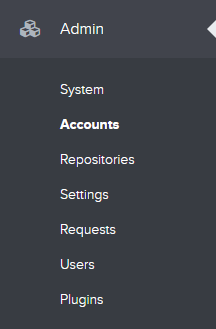
- Navigate to Admin > Accounts
- Select the Microsoft Azure tab
- A list of configured Accounts is displayed
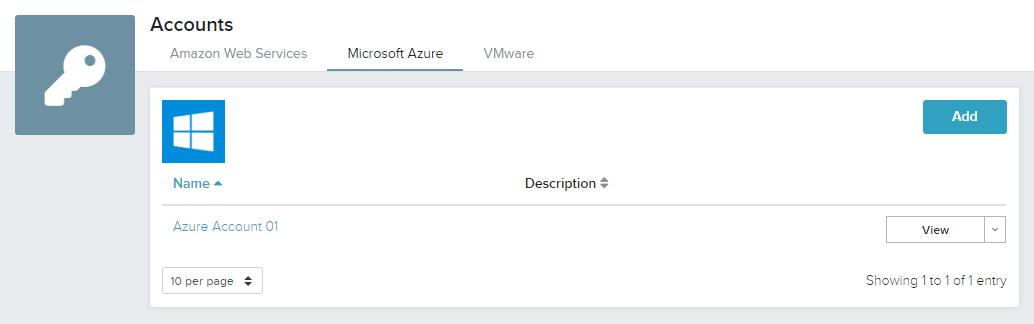
- Click on the Account name or the View button to view details of the account
Account Operations
Management operations can be performed against an account. The following table lists the operations available.
| Operation | Description |
| View | Opens the account details |
| Test | Tests the configured credentials can access the account |
| Perform Inventory | Performs an inventory of resources within the account |
| Remove | Removes the account and its resource from the Broker database |
Details
The Details tab lists the details of the account as configured when the account was added.

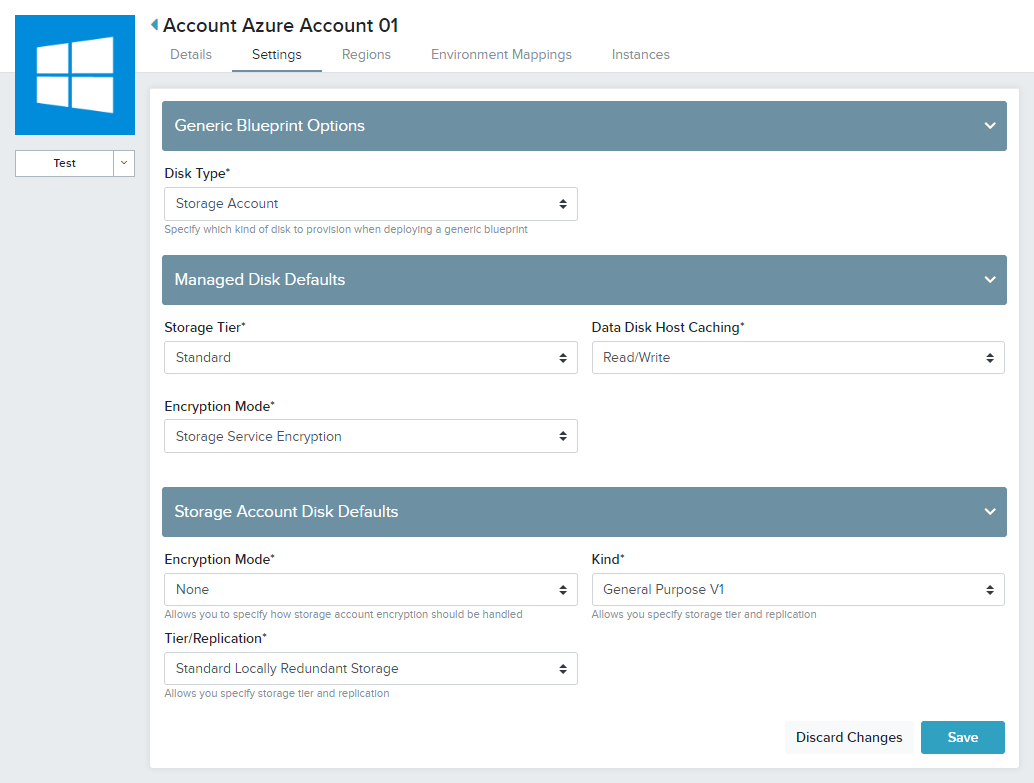
Settings
The Settings tab allows configuration of Azure options and default settings for deployments.
Regions
The Regions tab lists the service provider regions and summarises region resources as discovered by the Broker.
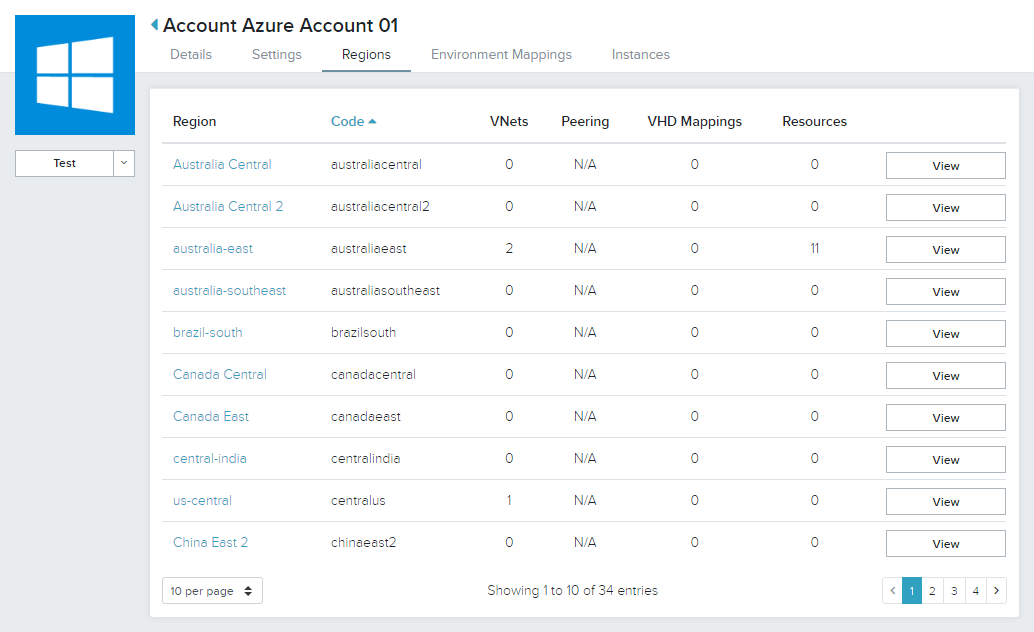
Click on a Region name or the View button to manage the selected region.
Refer to the article Managing Service Provider Regions - Azure for details steps.
Environment Mappings
The Environment Mappings tab lists the service provider regions which have mappings to configured environments.
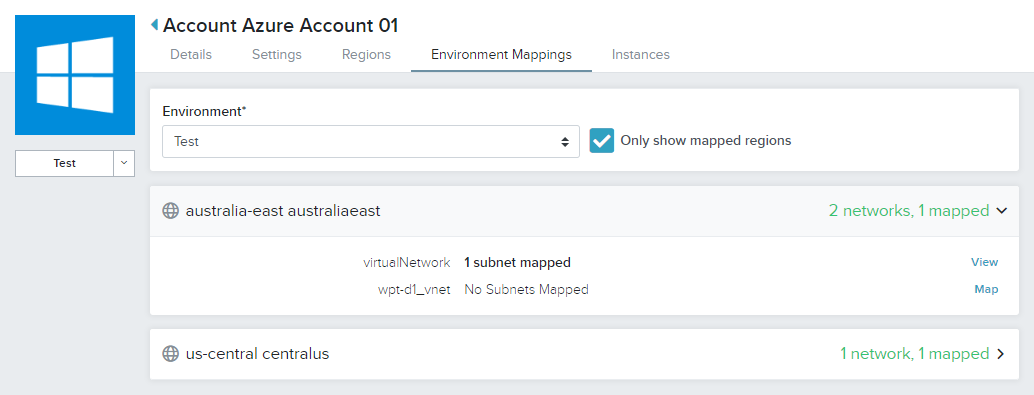
Click View to review and modify the selected mapping.
Click Map to create new network mappings for the selected network.
Refer to the article Configuring Environment Network Mappings for detailed steps in creating network mappings.
Instances
The Instances tab lists virtual machine instances deployed to or discovered in the selected account.
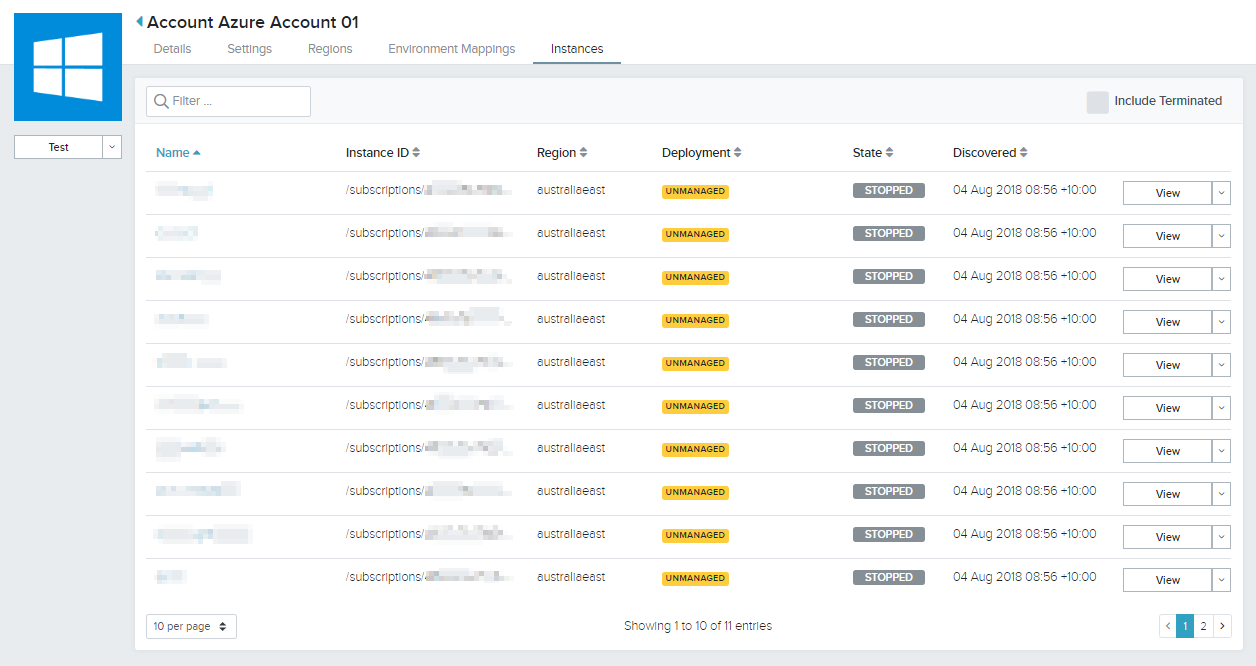
Click the Instance name or the View button to view details about the instance.
Refer to the article Managing Cloud VMs for detailed steps in working with virtual machine instances.